
Installing a new roof is one of the most important investments a homeowner can make, especially in a state like Wisconsin where the weather can be unpredictable. From heavy snow and ice in the winter to thunderstorms and humidity in the summer, your roof has to stand up to the elements year-round. Choosing asphalt shingles for your roofing material is a smart and popular choice due to their durability, affordability, and ease of installation. In this guide, we’ll walk you through the full process of shingle roof installation in Wisconsin, from preparation to final inspection, so you can better understand what goes into protecting your home from the top down.
Why Asphalt Shingles Are Ideal for Wisconsin Homes
Before diving into the installation process, it’s helpful to understand why asphalt shingles are the go-to roofing option for many Wisconsin homeowners. Asphalt shingles offer a reliable balance of performance and cost, which is essential when dealing with the temperature fluctuations and moisture challenges common in this region. These shingles can handle snow loads, resist wind uplift, and shed water effectively. They are also relatively quick to install and easy to repair, making them a practical choice for residential properties across the state.
Step 1: Roof Inspection and Project Planning
Every successful roof installation begins with a thorough inspection of the existing roof. Contractors will check for signs of damage, rotting wood, mold, and structural weaknesses. If there are any soft spots or water-damaged areas, they will need to be addressed before moving forward. Planning also involves taking precise measurements to determine how many bundles of asphalt shingles will be required for the job. This phase includes choosing the right shingle color and style to match your home’s exterior while ensuring it complies with any local building codes and HOA requirements.
Step 2: Removing the Old Roofing Materials
Once the planning is complete, the next step is to remove the existing roof materials. This involves tearing off the old shingles, nails, and underlayment. A clean and clear surface is essential for proper installation. It’s not just about removing what’s on top but also inspecting what’s underneath. Any rotted sheathing or decking must be replaced to create a solid base for the new shingles. This step is usually noisy and messy, but it’s crucial for the long-term performance of the new roof.
Step 3: Preparing the Roof Deck
After the tear-off process, roofers prepare the surface by installing protective barriers. In Wisconsin, where ice and snow are common, an ice and water shield is typically applied around the edges of the roof, valleys, and other vulnerable areas. This helps prevent ice dams from causing water to back up under the shingles during freeze-thaw cycles. Then, a roofing felt or synthetic underlayment is rolled out over the rest of the deck. This layer provides an extra level of protection against moisture infiltration and gives the shingles a smooth surface to adhere to.
Step 4: Flashing and Drip Edge Installation
Before the shingles are installed, flashing and drip edges are placed around roof edges, valleys, vents, chimneys, and other critical areas. The flashing helps direct water away from joints and seams, preventing leaks, while the drip edge keeps water from curling under the shingles and damaging the fascia boards. Proper flashing is a key part of any roof system and ensures water stays out of places it doesn’t belong.
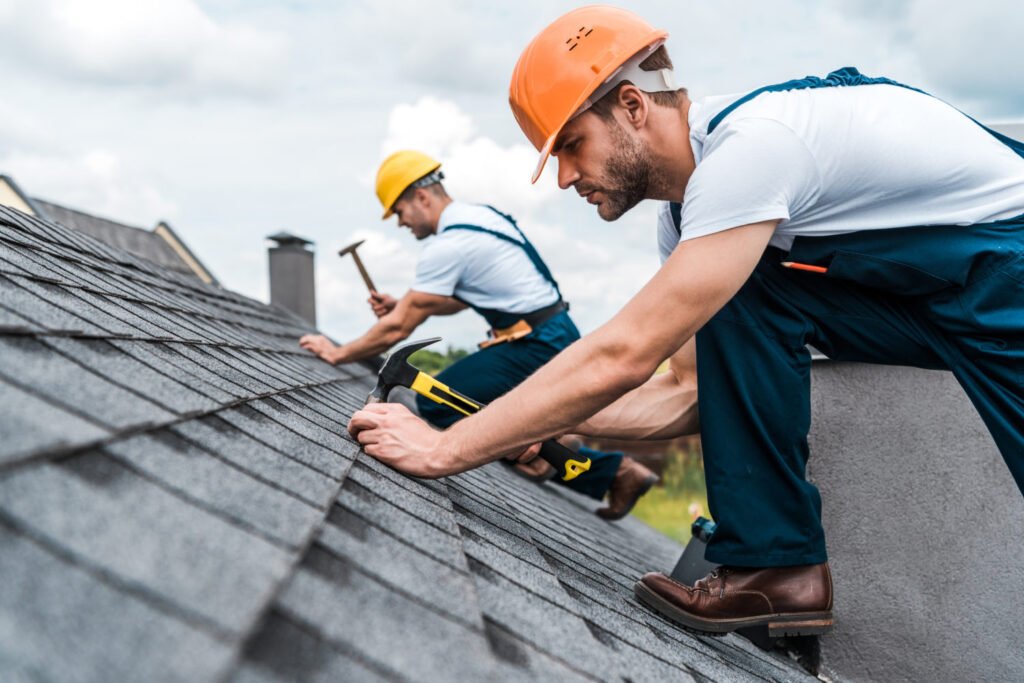
Step 5: Shingle Installation Begins
With the surface prepared and protected, the shingle installation begins at the bottom edge of the roof. Roofers start by laying a starter strip along the eaves to provide a solid anchor for the first course of shingles. The shingles are then nailed down in an overlapping pattern, moving row by row up the roof. It’s essential that each shingle is properly aligned and secured using the correct number of nails, especially in areas prone to high winds. The process continues until the entire roof is covered in new asphalt shingles, forming a watertight barrier against Wisconsin’s challenging climate.
Step 6: Installing Ridge Caps and Vents
Once the main body of shingles is installed, attention turns to the ridge lines and ventilation system. Ridge cap shingles are placed along the peaks of the roof to seal the top while maintaining a uniform appearance. Proper attic ventilation is also addressed during this phase. Ridge vents or box vents are installed to allow air to circulate through the attic, which helps regulate temperature, reduce moisture buildup, and prolong the life of the roof. Good ventilation is especially important in Wisconsin to avoid ice dams in the winter and excess heat in the summer.
Step 7: Final Inspection and Cleanup
With the installation complete, a thorough inspection ensures every part of the roof has been installed correctly. Contractors will check the alignment of the shingles, the sealant around flashings, and the integrity of the vents and ridge caps. Any loose nails or missed sections are addressed at this stage. The job isn’t finished until the entire worksite is cleaned up. This includes removing debris, hauling away the old roofing materials, and using magnetic rollers to pick up stray nails from the yard and driveway. A good roofing contractor will leave your property looking as clean as they found it.
How Long Does Installation Take?
Most asphalt roof installations in Wisconsin can be completed in one to three days, depending on the size and pitch of the roof and weather conditions. Some larger or more complex homes may take a bit longer, but reputable contractors will give you a clear timeline before the job starts. It’s always a good idea to plan the installation during a dry weather window, usually from late spring to early fall, when conditions are most favorable.
Hiring the Right Roofing Contractor in Wisconsin
Finding a qualified and trustworthy roofing contractor is essential to getting the job done right. Look for companies with local experience, proper licensing, insurance, and strong reviews. A reliable contractor will provide a written estimate, explain the entire process clearly, and back their work with a warranty. In Wisconsin, where roofing standards must meet regional climate demands, local knowledge goes a long way.
Conclusion: Protecting Your Home Starts at the Top
A professionally installed asphalt shingle roof can last 20 to 30 years when properly maintained, and in Wisconsin’s climate, that kind of protection is priceless. From tearing off the old materials to installing the final ridge cap, every step of the process matters. Understanding how your roof is built can help you make informed decisions, spot potential issues early, and ensure your home stays safe and dry through every season. Whether you’re building a new house or replacing an aging roof, investing in a quality shingle roof installation with AGP Drywall is one of the smartest moves you can make as a homeowner in Wisconsin.