


Serial communication is one of the most essential features in microcontrollers, and the ESP32 makes it simple with multiple UART ports. Whether you are sending data to sensors, debugging logs, or connecting modules like GPS and GSM, UART is the go-to protocol. In this tutorial, we will explore UART ESP32 usage, pin mapping, and configuration with ESP-IDF UART examples. By the end, you will have a working ESP32 UART example that you can adapt for your projects.
At ControllersTech, we focus on creating practical tutorials that help developers understand ESP32 programming in a simple, hands-on way. So let’s dive in.
What is UART and Why Use It on ESP32?
UART (Universal Asynchronous Receiver/Transmitter) is a hardware communication protocol that allows two devices to exchange serial data. The ESP32 UART interface supports multiple channels, configurable baud rates, and flexible pin mapping.
Unlike other microcontrollers with fixed pins, the UART ESP32 feature allows you to assign TX and RX to almost any GPIO, giving flexibility in hardware design. This makes it a powerful choice for real-world applications like:
- Communicating with GPS/GSM modules
- Serial debugging
- Connecting external sensors or controllers
- PC-to-ESP32 data transfer
ESP32 UART Pin Mapping
The ESP32 comes with three UART controllers (UART0, UART1, and UART2).
- UART0 is usually connected to USB for programming and debugging.
- UART1 and UART2 can be used freely for communication with external devices.
One of the biggest advantages of ESP-IDF UART is that you can map TX, RX, CTS, and RTS pins to almost any available GPIO using the uart_set_pin() function. For example:
uart_set_pin(UART_NUM_1, TXD_PIN, RXD_PIN, UART_PIN_NO_CHANGE, UART_PIN_NO_CHANGE);
This flexibility makes it easy to customize hardware layouts without being limited to fixed pinouts.
Configuring UART in ESP32 with ESP-IDF
To use UART ESP32 in your project, you first configure the UART driver using uart_driver_install() and uart_param_config(). Here’s a breakdown of steps:
- Define UART parameters
- Baud rate (commonly 9600, 115200, etc.)
- Data bits (8 or 9)
- Stop bits (1 or 2)
- Parity (none, even, odd)
Install UART driver
uart_driver_install(UART_NUM_1, BUF_SIZE * 2, 0, 0, NULL, 0);
- Configure UART pins using uart_set_pin().
- Write and read data using uart_write_bytes() and uart_read_bytes().
This setup ensures stable communication between ESP32 and your external device.
ESP32 UART Example Code
Here’s a simplified ESP32 UART example using ESP-IDF UART:
#include “driver/uart.h”
#include “esp_log.h”
#define TXD_PIN (GPIO_NUM_17)
#define RXD_PIN (GPIO_NUM_16)
void app_main(void) {
const uart_port_t uart_num = UART_NUM_1;
uart_config_t uart_config = {
.baud_rate = 115200,
.data_bits = UART_DATA_8_BITS,
.parity = UART_PARITY_DISABLE,
.stop_bits = UART_STOP_BITS_1,
.flow_ctrl = UART_HW_FLOWCTRL_DISABLE
};
uart_driver_install(uart_num, 1024 * 2, 0, 0, NULL, 0);
uart_param_config(uart_num, &uart_config);
uart_set_pin(uart_num, TXD_PIN, RXD_PIN, UART_PIN_NO_CHANGE, UART_PIN_NO_CHANGE);
char *msg = “Hello from UART ESP32!n”;
uart_write_bytes(uart_num, msg, strlen(msg));
}
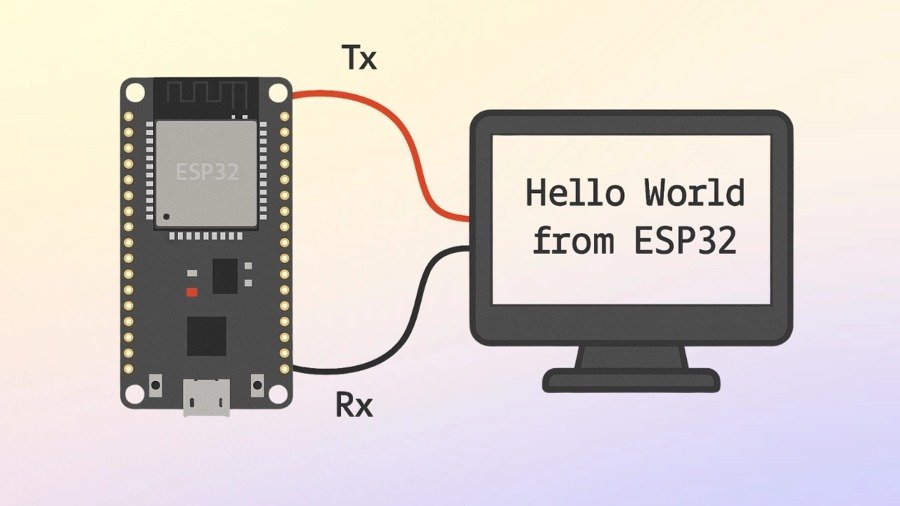
This example sends a simple message over ESP32 UART using UART1. You can connect another device to pins 16 (RX) and 17 (TX) to test communication.
Common Use Cases of UART ESP32
- Debugging external sensors or modules
- Sending logs when Wi-Fi or Bluetooth is busy
- Connecting ESP32 to Arduino or STM32
- IoT applications where serial data exchange is required
By using ESP-IDF UART, you can handle multiple tasks, create queues, and ensure reliable communication in real-world projects.
Conclusion
The ESP32 UART feature provides developers with a flexible and reliable way to implement serial communication. With customizable pin mapping, configurable baud rates, and multiple controllers, UART ESP32 can handle everything from debugging to external hardware integration.
This tutorial from ControllersTech showed you the basics of pin mapping, configuration, and a practical ESP32 UART example. With ESP-IDF UART, you now have the tools to implement serial communication in your own projects.
If you want more step-by-step guides like this, keep exploring ControllersTech for hands-on tutorials designed for real developers.


